If you want to unleash your inner potter, what better way to do it than with a handcrafted ceramic mug? All it takes is a few steps that you can easily do at home if you have all the supplies.
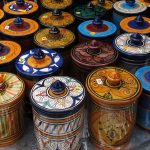
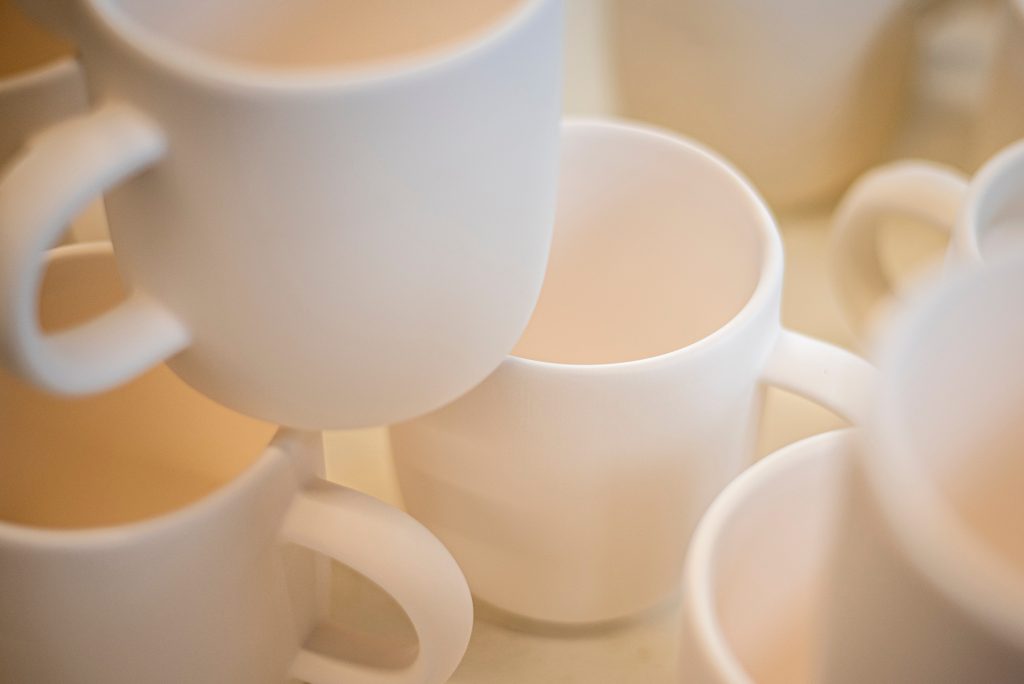
Ceramic mugs make excellent gifts for friends and family. Handmade ones, in particular, may add deep value and a personal touch to the mug. This makes the mug far more precious than anything purchased in a store. The fact that people generally prefer to drink their coffee or tea from ceramic mugs also adds to its significance.
The method I will use is tried and true, making it the simplest way to construct a ceramic mug. Whether you want to make a ceramic mug for a loved one or start a home-based pottery business, this is the place to begin.
The key things you will need to build your personalized ceramic mugs are an electric pottery wheel, a kiln, clay, paint, and glaze. Keep an ample supply of water on hand during the procedure, as running back and forth to acquire it will give you less time to manipulate the clay.
Contents
- Step #1: Select and Measure Your Clay
- Step #2: Wedge the Clay Using the Rams Head Method
- Step #3: Use Electric Wheel to Attach the Clay
- Step #4: Center the Clay on the Wheel
- Step #5: Shape the Clay
- Step #6: Add a Handle
- Step #7: Give Final Touches to the Mug
- Step #8: Create a Pattern and Add Embellishment
- Step #9: Use Acrylic or Latex Paint
- Step #10: Use Kiln to Fire the Ceramic Mug
- Step #11: Glaze the Mug
- Step #12: Seal the Glaze With Second Firing
- Final Thoughts
Step #1: Select and Measure Your Clay
A crucial step to creating your ceramic mug is selecting the type of clay you will be using. Using low-firing clay is best as it is easier to work with and does not shrink as much. This quality makes it ideal for pottery.
If you are just starting out with pottery, I recommend going with one of the following three, as they are best for beginners.
- Earthenware: This kind of clay is porous and a simple option to work with. You can easily shape it to your desired form. It can be glazed to make it food-safe. The only downside of earthenware is that it chips easily.
- Stoneware: This clay is chip-resistant and has more durability than earthenware. That is why it is more commonly used for making ceramic mugs and dinnerware. If this is your first time trying your hand at pottery, this is an excellent choice.
- Porcelain: Porcelain is one of the greatest clays available on the pottery market. It is even used by professional pottery makers. However, the setting time of porcelain is less than the other clays. You will need to be quite fast when working with it.
After you have decided on the kind of clay to use, the next step is to measure precisely how much clay you will be working with. The standard amount is around 2 lbs, but you can add and remove according to the size of the mug you are making.
Carefully read the instructions printed on your clay package as different brands have specific directions for that clay’s working and setting time.
Step #2: Wedge the Clay Using the Rams Head Method
When using the famous rams head method, you should pinch, roll, and knead your clay to remove all the air bubbles. This is a necessary step as air bubbles can cause your clay to fracture or explode when placed in the kiln.
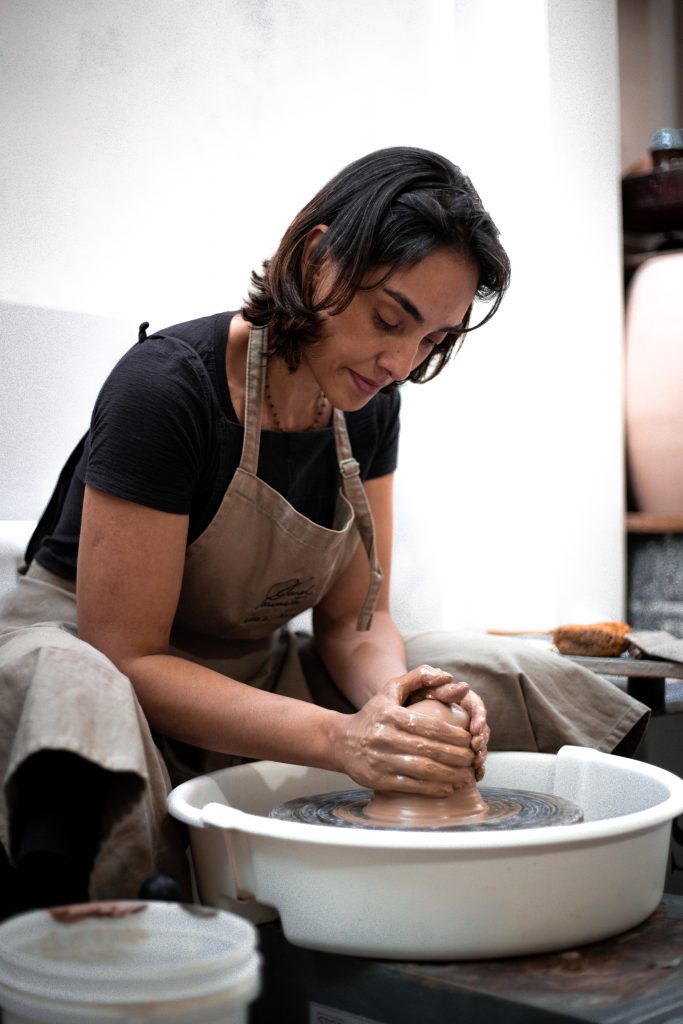 Step #3: Use Electric Wheel to Attach the Clay
Before throwing your clay onto the electric wheel, make sure it is completely dry and turned off. Use gentle hand movements to form a cone shape with the clay. Then, dab a few droplets of water to help it stick. Place the cone’s point in the center of the wheel and press firmly so that it adheres to the wheel.
Step #4: Center the Clay on the Wheel
Turn the wheel on at a slow speed and attempt to center the clay on the wheel to make your cup symmetrical. You should also use dry hands at first to smooth the clay. This will ensure that there are no sharp edges or bumps in it, which might damage your future ceramic mug.
Step #5: Shape the Clay
Wet your hands with water and place them around the clay as it rotates on the wheel. One thing to bear in mind is that the clay should not be allowed to dry. Make sure there is plenty of water nearby as you work, so you can easily keep your hands wet.
While increasing the speed of your wheel, start to push your clay forward and upward to make the desired shape of your mug. Keep wetting your hands in between to smooth out any pits and bumps for an even shape. To construct the foundation, scrape away the extra clay from the bottom of your mug.
Once you are satisfied with the shape of your mug, turn off the wheel and wait for it to stop turning. Use a thin piece of wire and drag it beneath the base to lift the mug from the wheel.
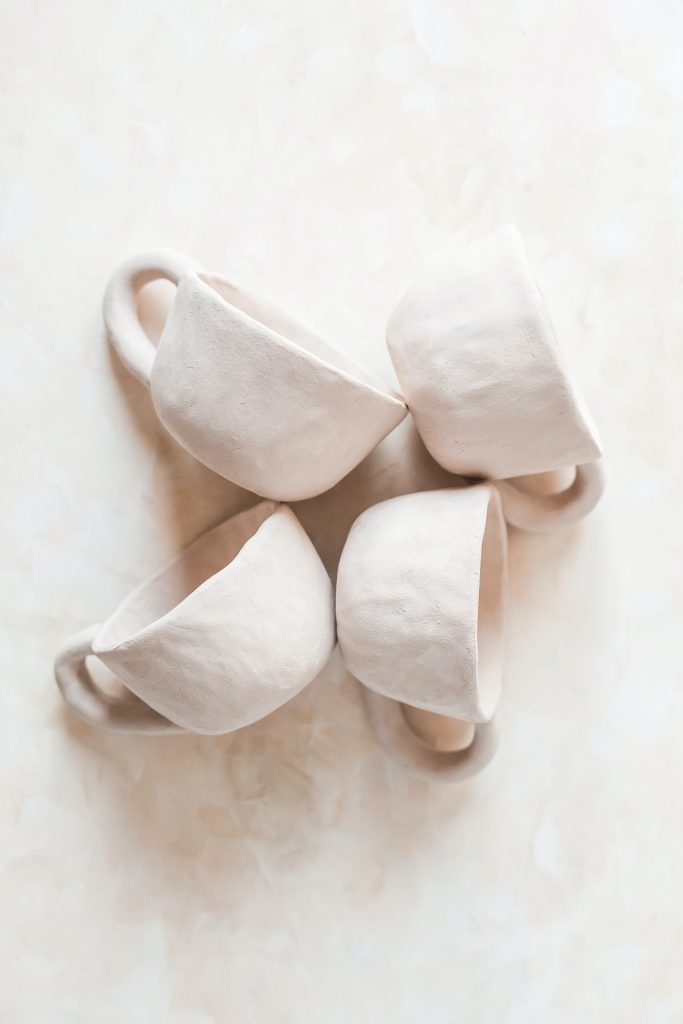
Step #6: Add a Handle
Once you have finished making the mug, you can add a handle. Handles provide additional protection to your mug and make it look classy. To add a handle, roll a bit of clay into a narrow piece and turn it into your desired shape. Use your fingers to attach it to the wet mug while constantly adding a bit of water for adherence.
Step #7: Give Final Touches to the Mug
Allow your mug to sit under the plastic for some time. Afterward, use water and a sponge to shape the top ridge to make it smooth. The top ridge is where you will be drinking from, so you want it to be extra round with no sharp edges or turns.
You can use fine sandpaper to scrape off any imperfections and smoothen the exterior of your mug.
Step #8: Create a Pattern and Add Embellishment
A customized mug should have your personal touch to it. To make it intricate, add whatever pattern, stamp, or imprint for various kinds of textures onto your mug while it’s still wet. Be extremely careful while using different tools, as any drastic move can cause kinks in your mug.
Allow your ceramic cup to cool and dry for 12 to 24 hours. The time depends on the size of your mug and the type of clay you used. Most packages of clay come with instructions for how long to let your clay dry. So make sure to read them before you start working with your clay.
Step #9: Use Acrylic or Latex Paint
Choose a color for your mug according to your preferences. Since you will be using your mug for beverages, select a food-grade paint and apply it with a brush.
Step #10: Use Kiln to Fire the Ceramic Mug
If you are not a professional potter, chances are you do not have a kiln at home. You can find one at a nearby shop, art gallery, or community center. You must first schedule an appointment and then go on that specific day to make your mug.
Once there, gently place your mug in the kiln and close the lid. Set it to the required temperature, which should be specified on the clay packet. It varies based on the type of clay. When it is ready, remove the mug carefully.
Step #11: Glaze the Mug
Glazing makes your mug water-proof and adds color. You can apply it with a brush or by dipping your mug into the glaze. This is when your creativity comes into play. You can apply multi-colored glazes to your cup to make it more artistic. Feel free to let your imagination run wild.
If you want your mug to keep the natural color of the clay, you can dip it into a clear glaze. Just keep the following two in mind while glazing. First, never put the glaze on the base of your mug because it will get stuck to the kiln. Second, the color of your glaze may look different after firing. Always choose a color after seeing what it looks like fired!
Step #12: Seal the Glaze With Second Firing
After you finish glazing your mug, return it to the kiln for a second firing. Be careful not to smear or mess up the glaze because this will spoil all of your hard work.
Once you have set the temperature lower than the first firing, close the lid. Subsequently, remove the mug from the kiln when it has finished firing. Now, you can safely touch your glossy mug that just came out of the kiln.
Final Thoughts
By using this excellent method, you can easily make a ceramic mug for your coffee. Just make sure to be careful when using the wheel and kiln to avoid any mishaps.
After you have completed the steps mentioned above, step back and admire your beautiful handiwork. The customized mug will have so much more value than all the mugs at the store because it was handmade by you! You can even send your customized mug collection to your loved ones once you get the hang of making them yourself.