Chocolate and coffee might sound delicious separately, but what happens when you put them together? A delightful mouth-watering dessert. Chocolate-covered coffee beans are an excellent mid-day snack. Not only are they tasty, but they also give you a quick energy boost.
On top of being a great snack, you can also use them as a topping for your favorite desserts. What’s more, if you wish to store them for a longer time, you can easily pack them in an airtight container and munch on them when you feel like it. Not to mention, a beautiful jar of chocolate-covered coffee beans will make a perfect homemade gift for your loved ones!
Since these snacks are also available in stores, you might wonder you should make them at home? Well, the answer is, nothing beats a homemade dessert that is tailored to your tastes and preferences. They’re also cheaper than the market brands and offer a lovely unique, fresh taste.
If you have a sweet tooth and want a low-carb dessert to satisfy your cravings, then you’ve come to the right place. In this article, you’ll be learning how to make chocolate-covered coffee beans in just a few easy steps. There are only two essential ingredients that you’ll require to follow this recipe. So what are you waiting for? Let’s jump right into it!
Contents
- Step #1: Select Your Coffee Beans
- Step #2: Select Your Chocolate
- Step #3: Gather the Ingredients
- Step #4: Melt the Chocolate
- Step #5: Add Roasted Coffee Beans to the Chocolate
- Step #6: Place the Chocolate Covered Beans on the Baking Tray
- Step #7: Allow the Coffee Beans to Cool Then Enjoy
- Step #8: Cover the Beans With Cocoa Powder (Optional)
- Final Thoughts
Step #1: Select Your Coffee Beans
 Since the recipe is quite simple, you can easily make it at home without any special cooking skills. All you need to know are your favorite flavor of chocolate and coffee.
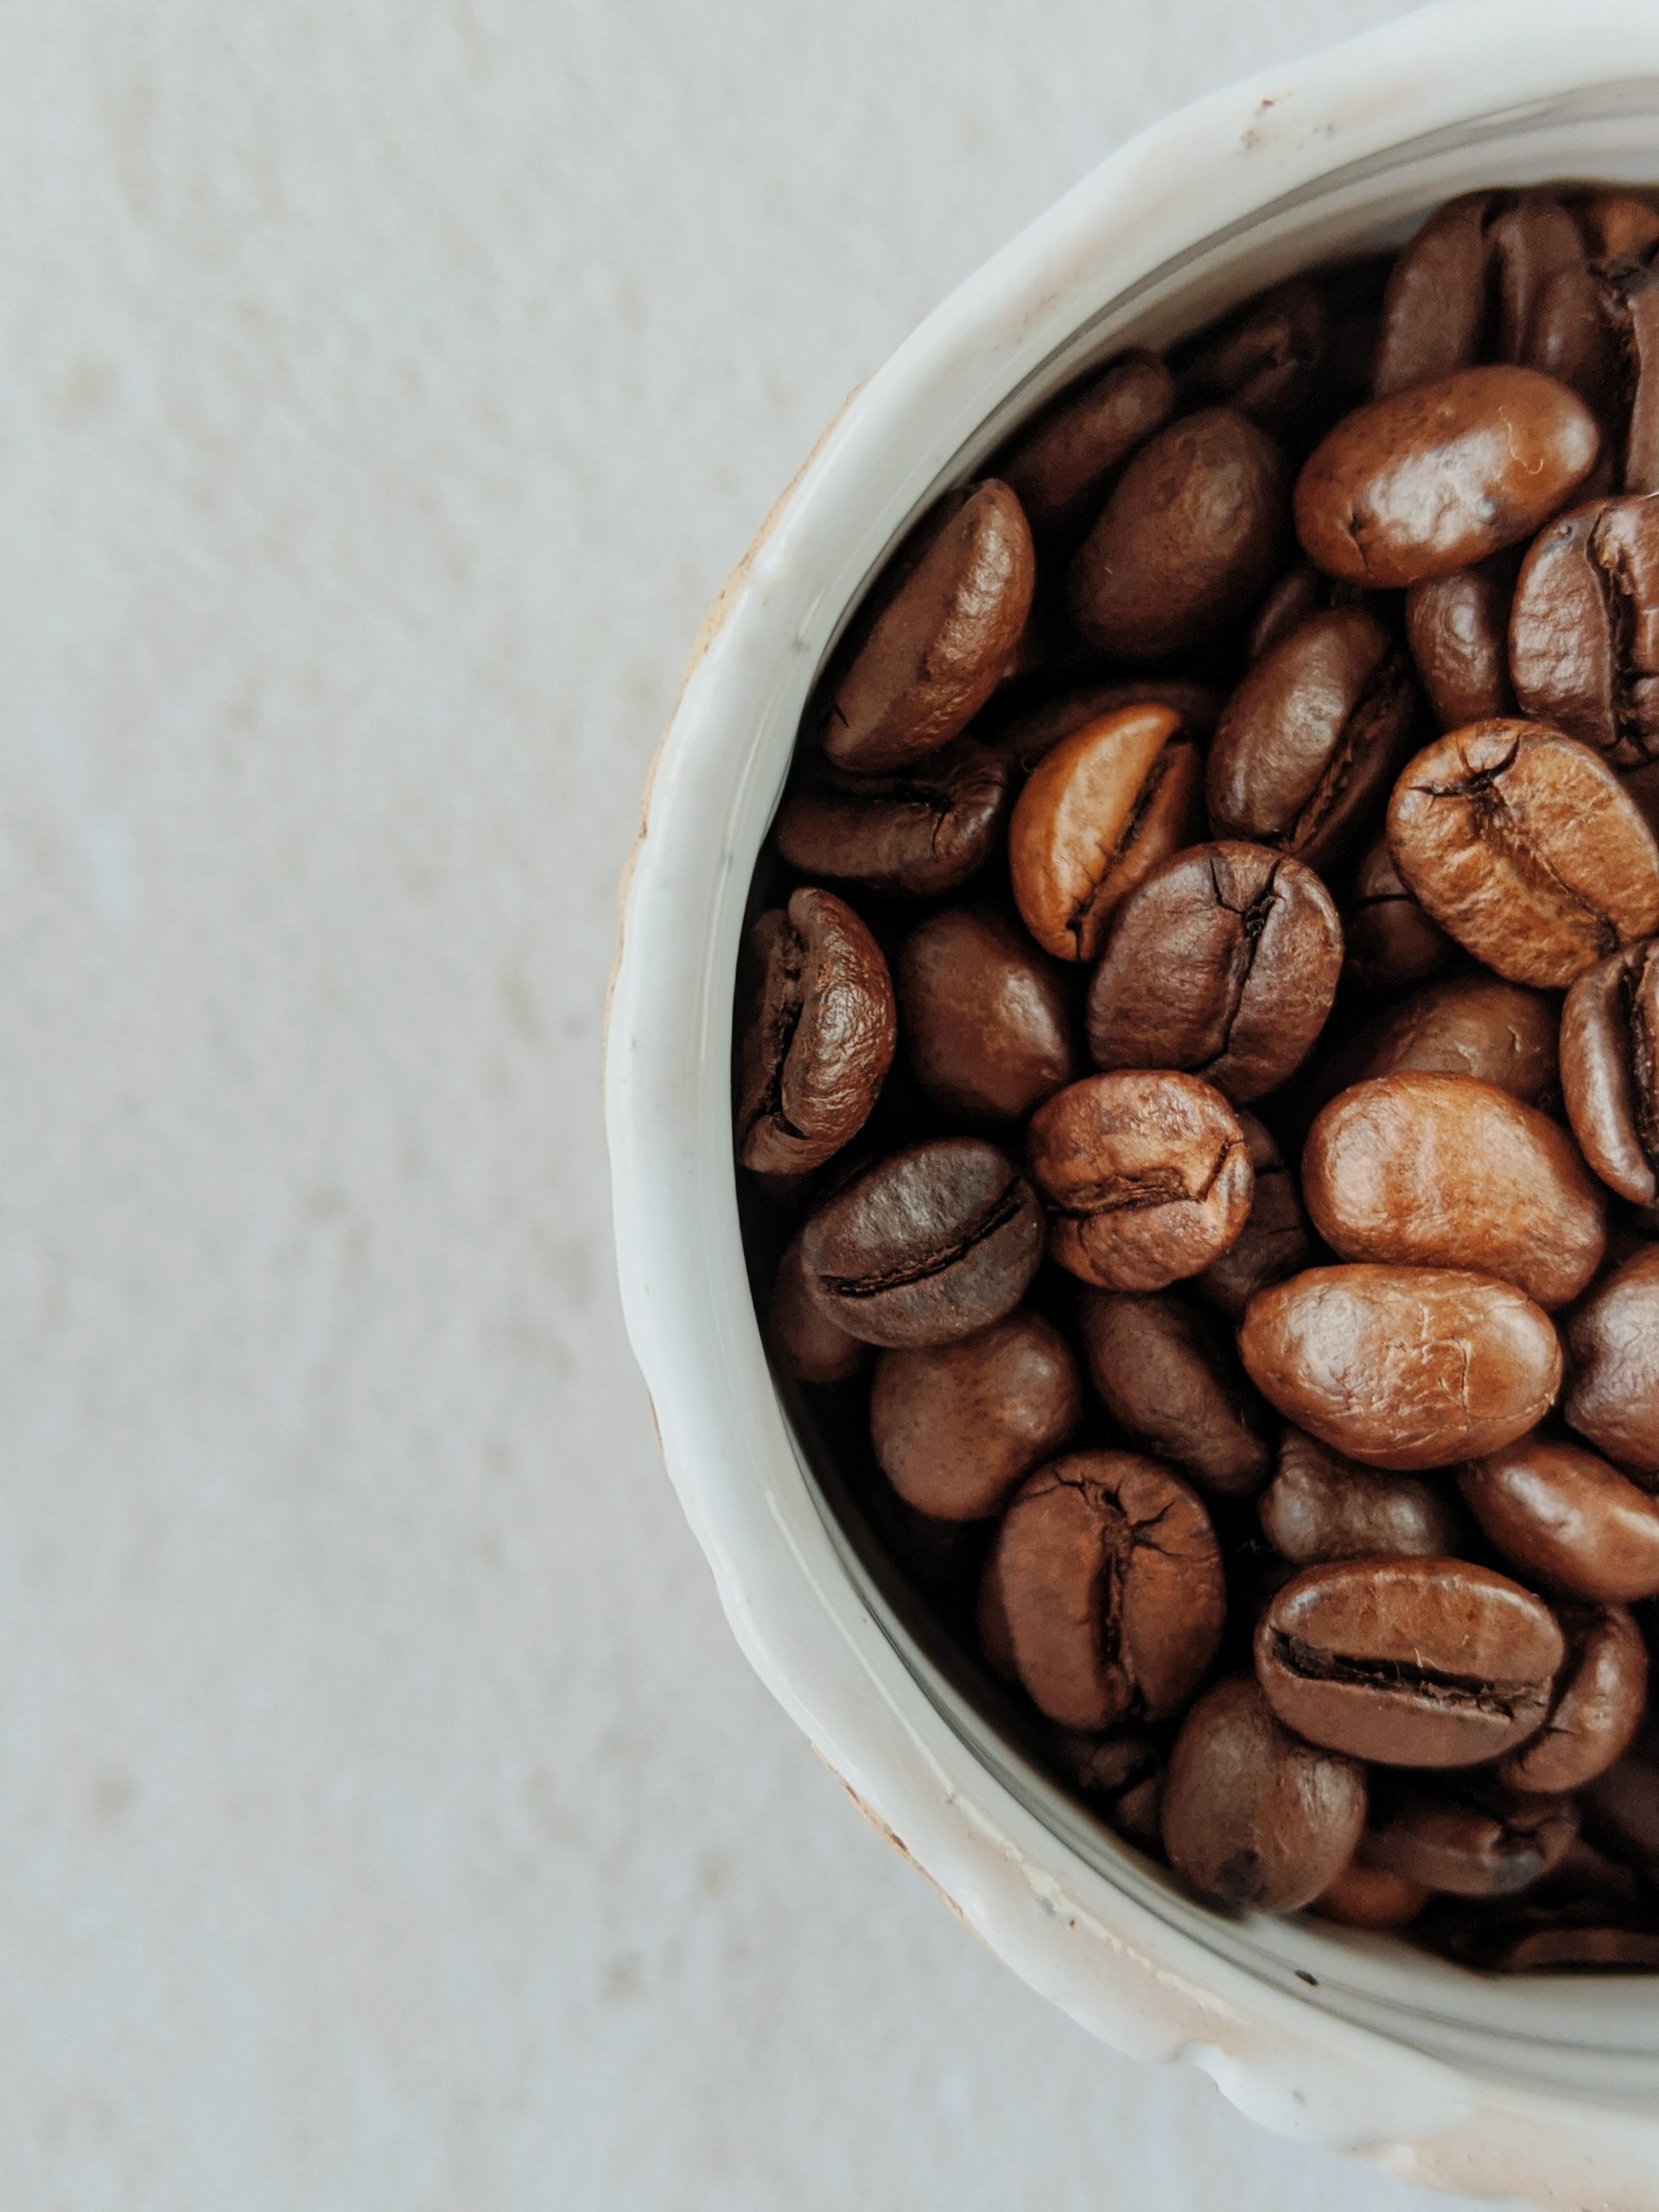
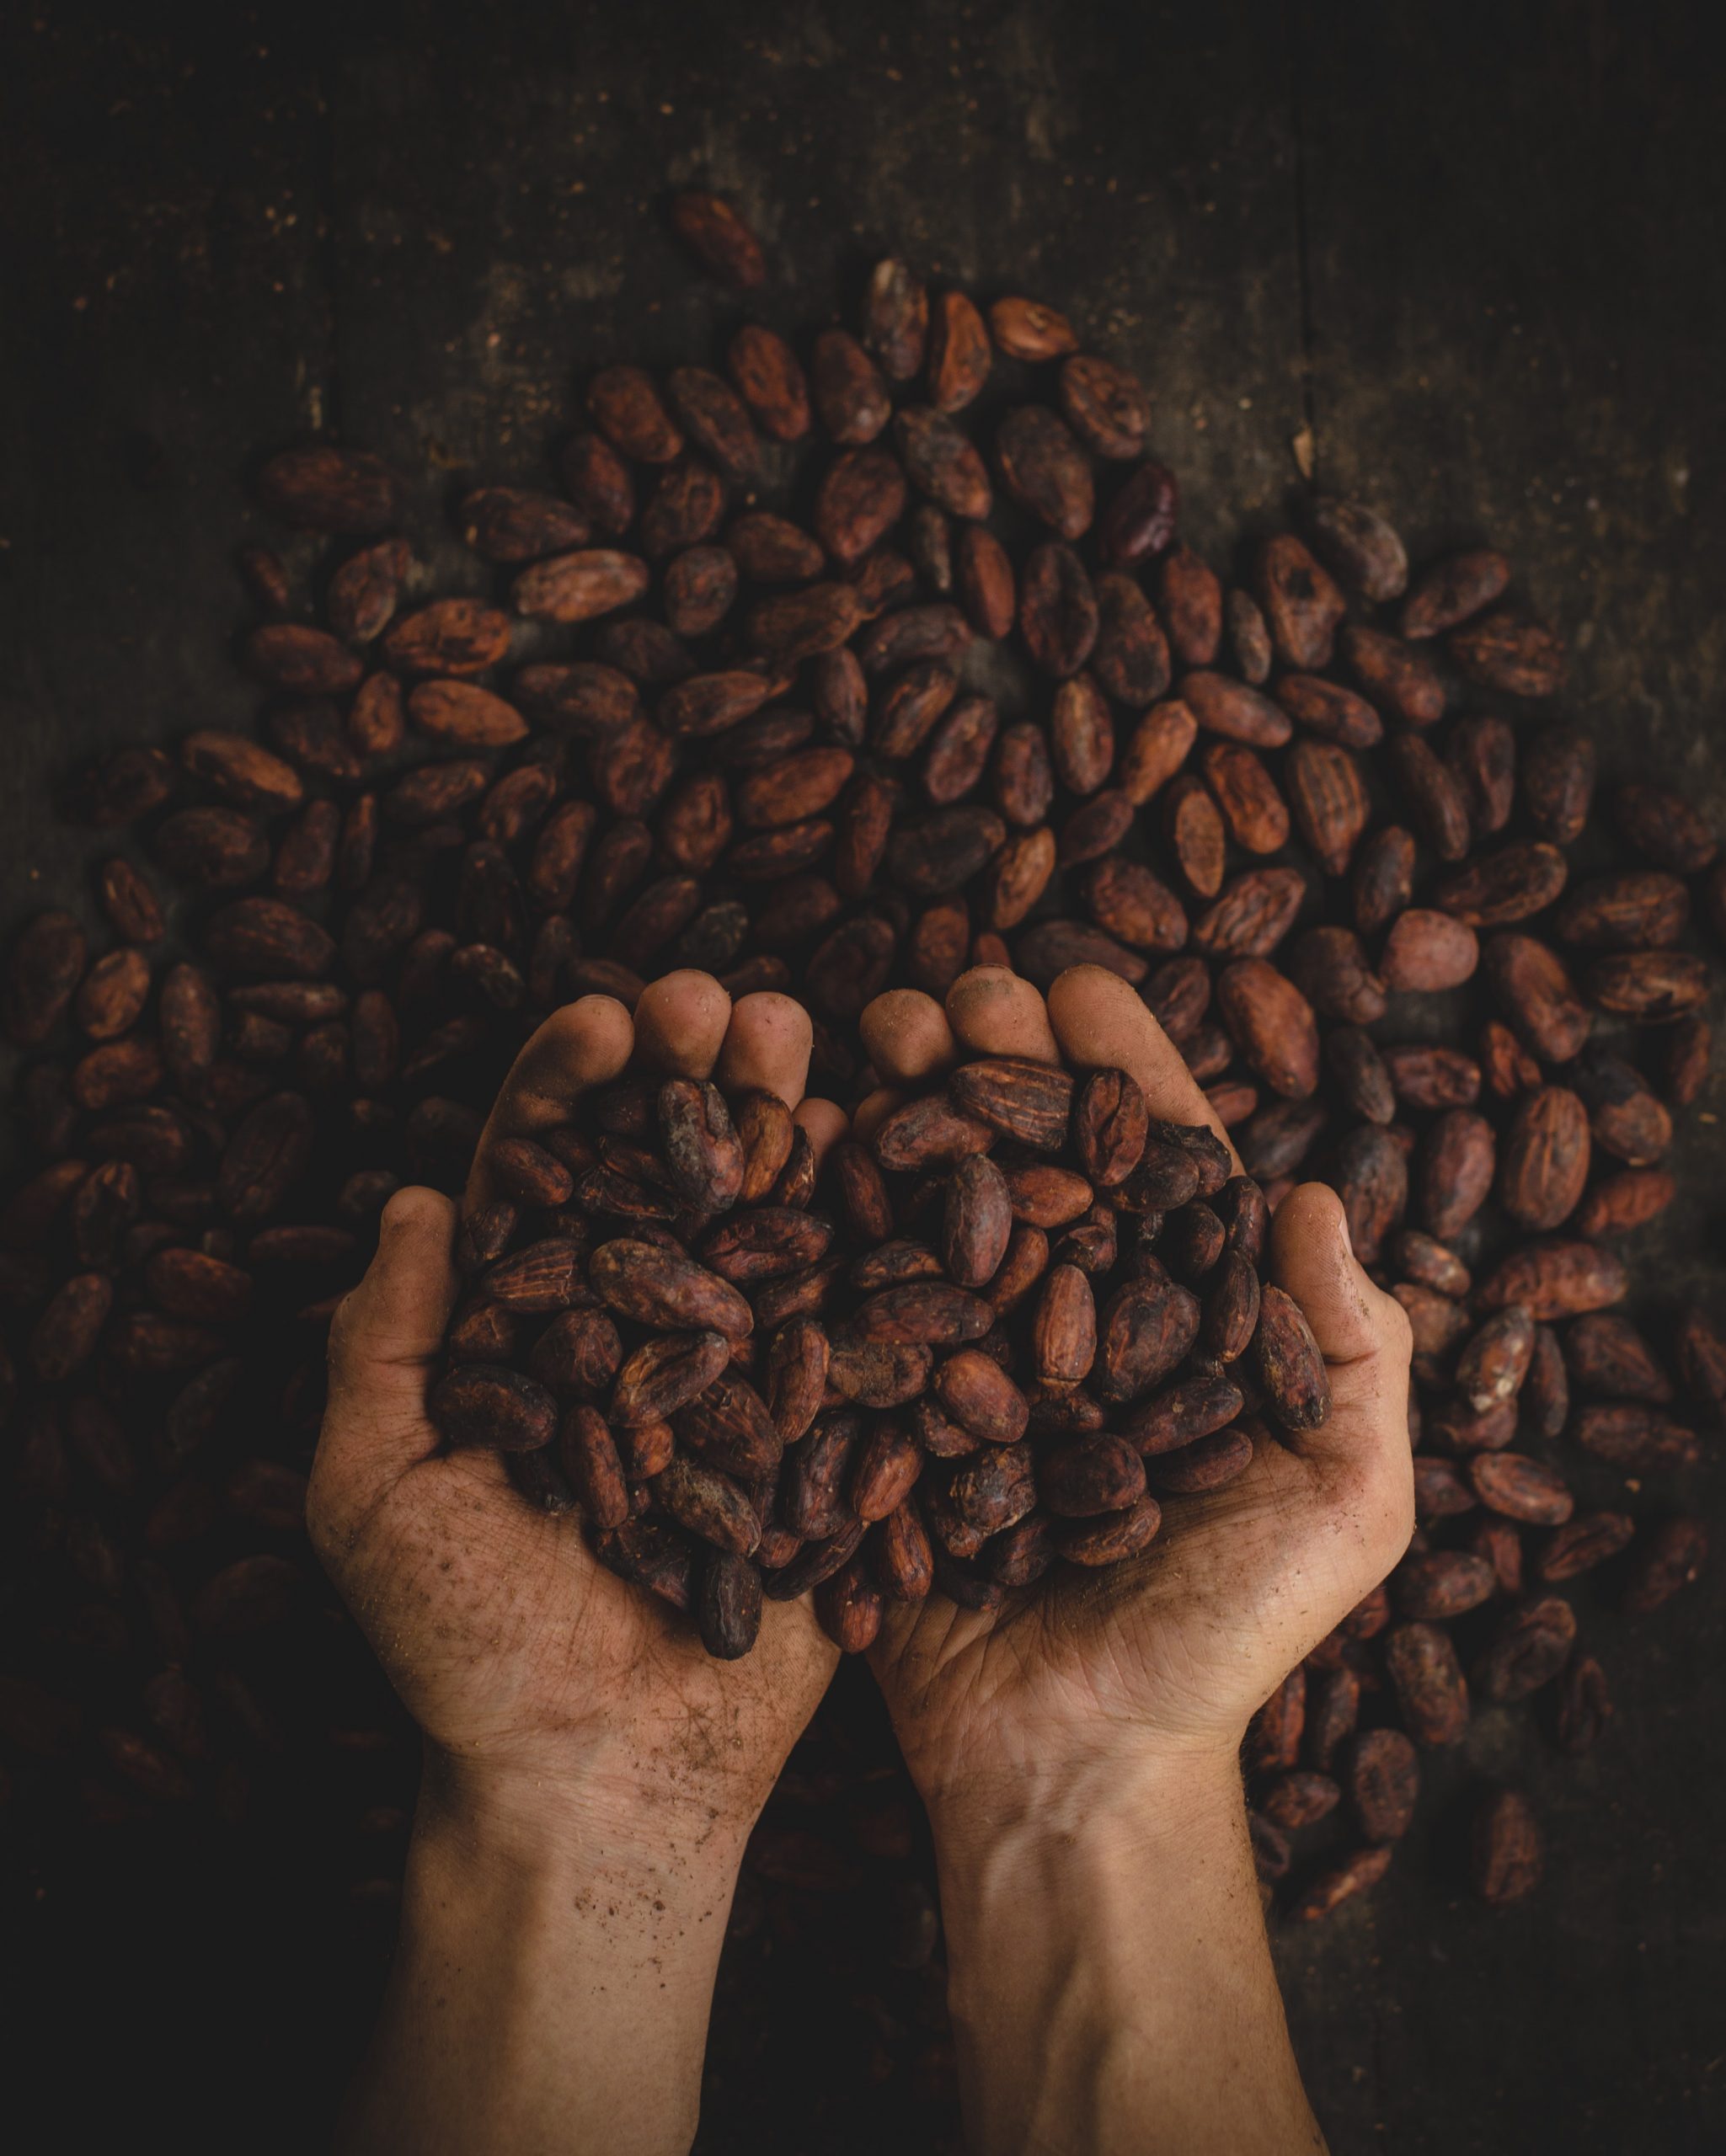
First, you need to select your coffee beans. There are various types of coffee beans available, from luxurious beans to cheaper and more affordable coffee beans. This step can be a bit difficult as there are different varieties on the market.
You can use whichever one you like, but note that lightly roasted coffee beans have more flavor and acidity. Dark roasted beans have little to no acidity, but they are more bitter.
Choosing medium to dark coffee beans is the best idea as they provide a good mix of acidity and flavor to balance out the sweetness of the chocolate. Some people prefer to use espresso beans, which are just larger dark coffee beans.
In general, people tend to use dark beans with milk chocolate and lightly roasted beans with dark chocolate. However, you can experiment and see what you like best. If you want to go the extra step and add more flavor to your treat, you can also add flavored coffee beans such as hazelnut, caramel, or vanilla.
Step #2: Select Your Chocolate
There isn’t any science to selecting your chocolate. Just pick your favorite, and you’re good to go. Many recipes require dark chocolate. But you can choose from dark chocolate, white chocolate, milk chocolate, or ruby chocolate, depending on your cravings.
You can use chocolate chips or a bar of chocolate chopped into small pieces. I recommend using a bar of light chocolate if you’re going with dark roasted beans and dark chocolate if you’re using lightly roasted coffee beans. Like I said before, this is because the sweetness of your chocolate will mask out the bitterness of the roasted coffee beans.
Step #3: Gather the Ingredients
Apart from roasted coffee beans and chocolate, you will also need wax paper and a double boiler. The ratio of coffee beans to chocolate should be the same: one cup of chopped chocolate and one cup of coffee beans. You’ll also need 4 to 5 tablespoons of cocoa powder as an optional step.
Step #4: Melt the Chocolate
Use a double boiler to melt your chocolate. If you don’t have a double boiler, you can place a metal dish over a pot of boiling water. Stir continuously and wait till the chocolate is smooth and creamy, then turn off the heat.
You can also put the chocolate in a bowl, microwave it for 30 seconds at a time, and take it out to stir until it’s completely melted.
Step #5: Add Roasted Coffee Beans to the Chocolate
 Once your chocolate is melted, add your roasted coffee beans to it. Continue to mix until all the coffee beans are evenly coated with a layer of chocolate.
Step #6: Place the Chocolate Covered Beans on the Baking Tray
Using a fork, scoop out the chocolate-covered coffee beans one by one and place them on a baking tray covered with wax or parchment paper.
Gently take out each chocolate-covered bean, allowing excess to drop off, and lay them separately on the tray. Make sure they don’t touch. This may seem tedious, but the end result is totally worth it!
Step #7: Allow the Coffee Beans to Cool Then Enjoy
Allow the chocolate-covered coffee beans to set when you’ve finished arranging them on the tray and let them sit. To speed up the setting process, place the tray in the refrigerator for an hour or until the chocolate has hardened.
Take them out and enjoy your delicious homemade chocolate-covered coffee beans. Eat them on their own or sprinkle them on top of your favorite dessert!
Step #8: Cover the Beans With Cocoa Powder (Optional)
You can either stop after the step mentioned above, enjoy your chocolate-covered coffee beans, or follow this additional step. Coat your coffee beans with cocoa powder or another layer of chocolate to enhance the flavor!
Final Thoughts
Aside from the wonderful flavor, people enjoy chocolate-covered coffee beans because they give them a nice energy boost. This makes them the perfect snack to help beat that afternoon slump.
By following this simple recipe, you’ll be indulging in these freshly made chocolate-covered coffee beans in no time!